
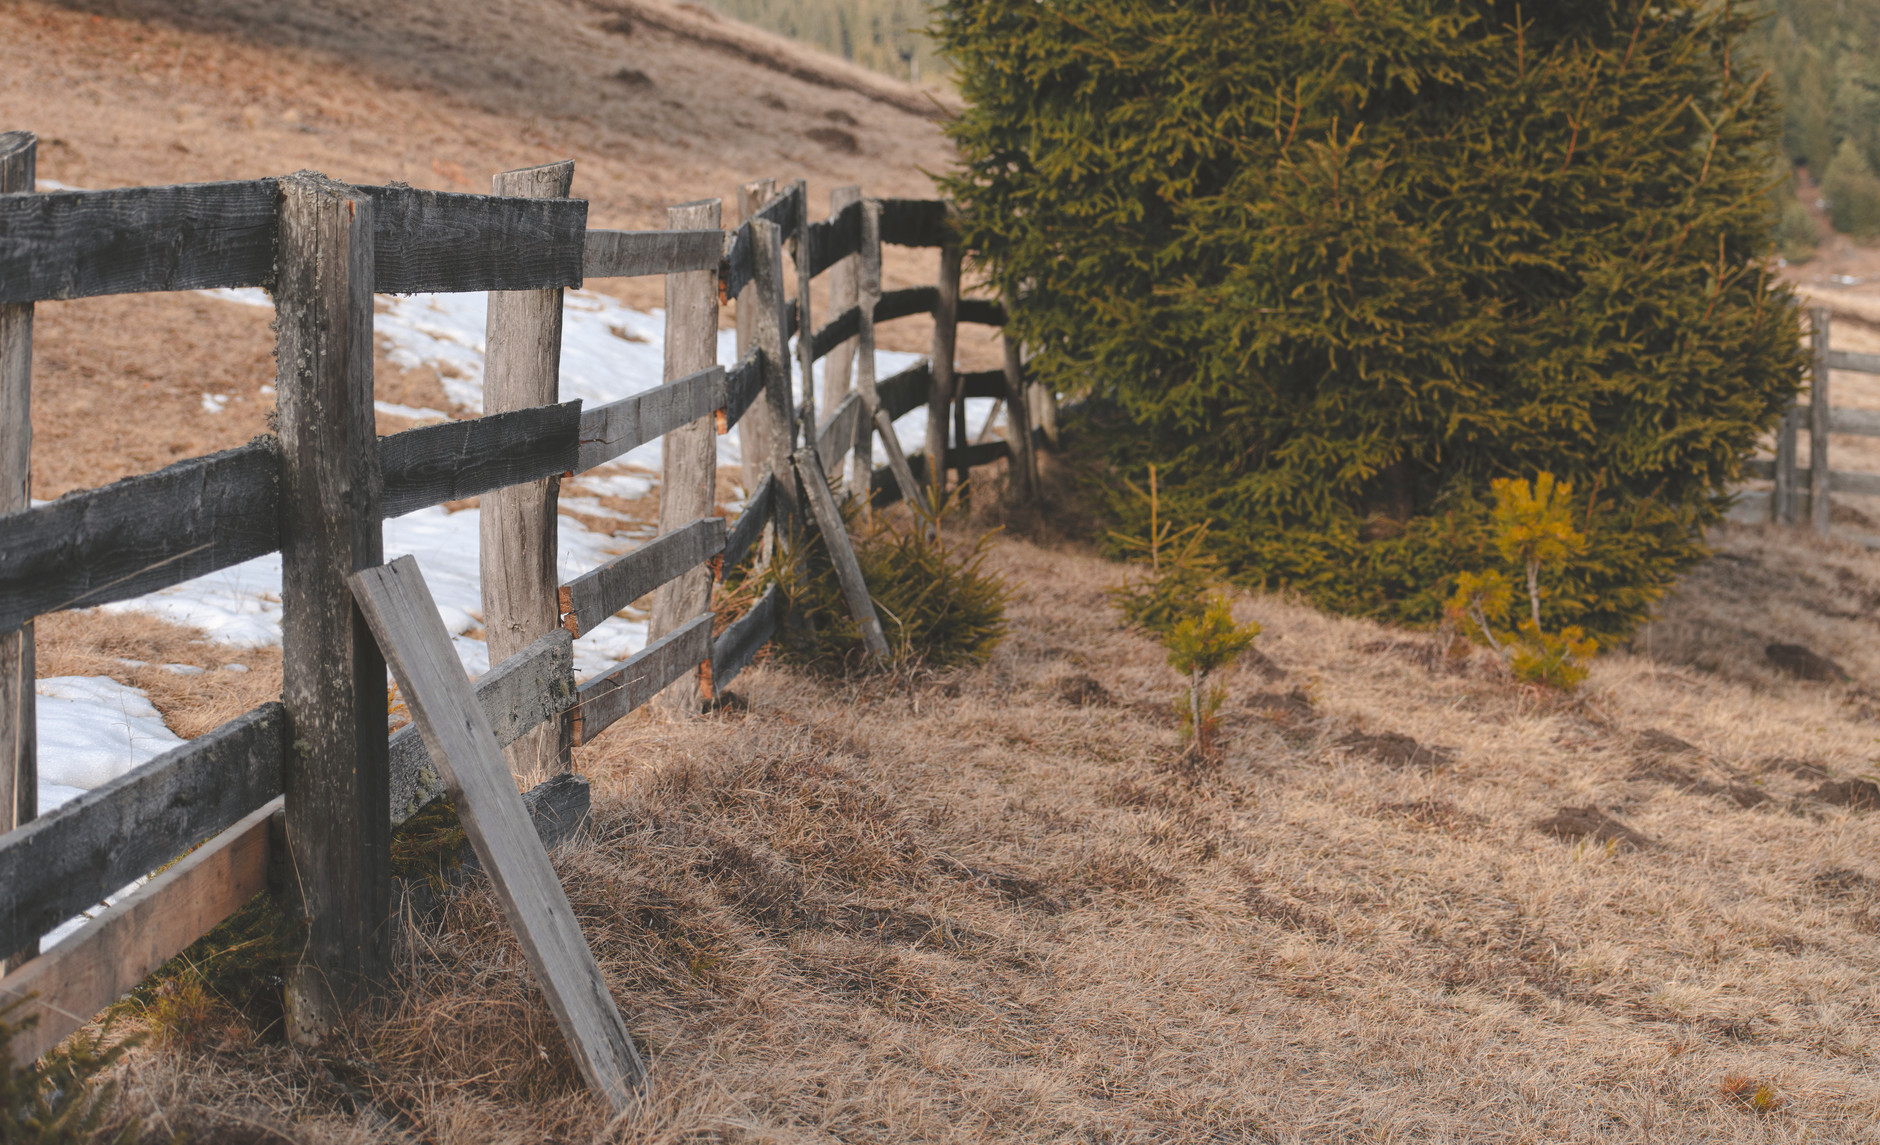
Edmond, Oklahoma, sits in Oklahoma County, where a dragging gate or punky picket usually points to three common causes: incorrect diagonal bracing, prolonged ground contact, or a failed exterior finish. Correcting the brace handles the load, raising the pickets ends wet-soil contact, and proper lumber plus finish protects the remaining wood. A homeowner can use those checks to repair the failed parts without replacing a sound fence line.
A Sagging Gate Usually Has One Clear Weak Point
A sagging gate usually needs a support correction, not a pile of replacement pickets. The first check is the diagonal brace, followed by the hinge attachment and the posts carrying the gate. A gate can look level while its latch corner drops, so checking only the top rail can hide the actual problem.
Check the wood brace
A wood brace must run from the bottom hinge-side corner up to the top latch-side corner. This diagonal opposes the movement that pulls a gate out of square and allows the latch side to sag. A brace installed in the opposite direction does not correct that common sag pattern. Loose brace screws, cracked wood at the fastener holes, or a soft hinge-side post can make a correct brace ineffective, so inspect each connection before tightening anything.
The gate should close without scraping the latch post, and the diagonal should remain tight rather than bow away from the frame. Measuring both corners before and after adjustment helps a homeowner avoid tightening a cable against a leaning post.
Use tension when a cable fits the problem
An anti-sag cable or turnbuckle kit belongs on the diagonal opposite the wood brace. The cable uses tension to oppose the gate's movement, and gradual adjustment can bring a slightly sagging gate back toward square. Tighten the cable until the gate closes with clearance, then stop if the latch binds, the cable twists, or a post moves. A tension device cannot stabilize a post that is loose or decayed at the ground line, so a rocking gate post requires its own repair.
Keep Pickets Out of the Soil
Ground clearance stops the damp conditions that make wood deteriorate at the bottom of a fence. Picket bottoms should sit 1 to 2 inches above the soil, which leaves an air gap after rain and irrigation. That gap also keeps a fence from being pinned into soft mud when wet ground swells. Clearance protects the boards, but it cannot make already punky wood sound, so rotted pickets still need replacement.
Move soil, mulch, and leaves away
Mulch, soil, and leaf piles should be pulled away so boards do not rest against wet material. A visible gap makes a sinking picket easier to notice after heavy rain or seasonal soil movement. Check clearance at several points, including the lowest spot, instead of judging the line from one end. On a slope, the lowest board governs the needed adjustment.
A board that touches soil should not be pried upward while its fasteners remain loaded. Raising a leaning fence without correcting the support or replacing decayed wood only hides the symptom. Inspect the bottom edge, remove trapped debris, and replace softened material. Keep the replacement bottom 1 to 2 inches above settled soil.
Keep irrigation off the boards
Lawn sprinklers should be aimed so they do not spray fence boards or the ground-contact area around posts. Repeated wetting makes wood harder to dry, especially along a closely spaced picket run. Directing water away preserves the clearance gap and reduces the cycle of wet wood, trapped soil, and leaf debris. A dry inspection after irrigation reveals sections that stay damp.
Ground-Contact Lumber Matters Below Grade
Every wood post placed into the ground needs lumber rated for ground contact. Lumber intended only for above-ground use can rot quickly when buried, even when the visible portion of the post looks sound. The rating addresses the installation condition rather than promising that any post will last forever, so drainage and footing shape still matter. The end tag provides the simplest way for a homeowner to confirm the intended use before setting a replacement post.
Read the end tag before installation
The end tag identifies whether lumber is rated for ground contact, so a homeowner can verify the post before installation. Above-ground rated lumber is a poor choice for a buried post because the lower section remains damp after surface boards look dry. New pressure-treated replacement lumber still needs a ground-contact rating, proper installation, and maintenance. Treatment does not cancel the need to keep water from collecting against the post.
Ground-contact rating does not replace good footing drainage. The top of a concrete footing should slope away from the post rather than remain flat or cupped, because trapped water can speed decay where the post enters the soil. The post should also remain above pooled soil. Those details give ground-rated lumber its best chance against the conditions that fail a post at its base.
Match replacement posts to their exposure
A replacement post in Edmond, Oklahoma, should use ground-contact lumber suited to its buried position. Red clay soils around Oklahoma County can shrink during dry weather and swell when wet, moving or tilting footings and changing the gap around a post. Inspecting the line after a wet spring and again after a dry late summer can reveal movement before a gate begins to drag. A leaning post is a support issue that diagonal gate hardware cannot correct by itself.
Restaining Protects Boards Before They Fail
Strong Oklahoma sun gradually breaks down the finish on exposed wood fencing. Plan to clean and restain or reseal wood fences every 2 to 3 years, with the exact interval set by the condition of the boards and the finish used. Gray boards, splitting, and cupping are clear signs that the protective finish has worn off. A maintained finish slows surface weathering, while a missing finish leaves the wood more exposed to moisture and repeated wetting.
Clean the surface and let new lumber dry
Cleaning must come before the new finish, because dirt and loose weathered fibers can keep stain or sealer from bonding evenly. Fresh pressure-treated replacement lumber needs time to dry before staining. Wet or newly damp wood can hold moisture under the finish and produce a result that looks uneven and wears poorly. Let the treated boards dry fully, then apply the selected exterior finish according to its directions and cover the exposed faces consistently.
Restaining maintains sound wood but does not cure decay. Probe a suspect board and replace it if the screwdriver tip enters soft, punky wood. Clean and refinish sound boards, and remove weakened wood before applying a new finish. Checking lower boards, rails, and posts prevents a sound upper fence from hiding a damp failure at the bottom.
Treat the whole run when color matters
Fresh cedar or new pressure-treated replacement pickets will not match weathered gray boards. When appearance matters, plan to clean and stain the entire run instead of expecting one new board to blend with old ones. A mismatched patch can look more obvious than a uniform weathered run, so delay cosmetic replacement until the full run can be refinished when practical. Refinishing the run creates consistent color and gives new pickets the same protected surface as surrounding wood.
The restaining and picket replacement decisions can happen at different times. Replace structurally failed boards with properly treated material, then schedule color restoration when the full run is ready. Keep replacement lumber dry and out of standing water during that interval. Maintaining the 1 to 2 inch soil gap also prevents the new finish from failing quickly at the bottom edge.
A Homeowner Repair Sequence for Edmond, Oklahoma
A useful repair order begins with the gate because its diagonal load can affect adjacent posts, then moves to ground clearance, buried post material, and surface finish. Correcting a sagging gate first makes later line-level checks easier. Clearing the soil before refinishing keeps wet debris from trapping against a fresh finish, and checking post ratings before installation prevents a ground-rated mistake.
Diagnose the gate while it is supported
Open and close the gate while watching the latch corner and hinge side. Mark the low point, check for a tight wood diagonal, and confirm that the cable or turnbuckle, if present, runs opposite the brace. Check the hinge screws and the wood around their holes, because a loose fastener or split rail can imitate a bracing failure. Support the gate while making adjustments so its weight does not pull a damaged post farther out of alignment.
Clear and test the picket line
Walk the entire fence and measure from the soil to the bottom of several pickets, including gate-adjacent sections and low spots. Pull back mulch, soil, and leaves, and redirect sprinklers that wet the boards. Push each picket near the bottom and inspect any soft area, but keep the gate diagnosis separate from the picket diagnosis. A picket may fail from contact with wet soil while the gate fails from a reversed brace, and each problem needs its own correction.
Check posts and footing shape
Look at the top of each concrete footing and confirm that it slopes away from the post. A flat, cupped, or buried footing can hold water against the wood. Check whether a post rocks while its concrete remains still, because that movement points to a weakened or broken lower post rather than a gate brace problem. Replace a failed post with ground-contact-rated lumber and shape the footing so water moves away. Correcting that support gives the gate a stable base for its diagonal.
Repair the Failed Part Before Expanding the Job
Targeted repair is usually enough when the posts remain solid and only a gate brace, rail, fastener, or group of pickets has failed. Whole-line replacement becomes more appropriate when posts are loose or rotting along much of the run. A gate brace can correct sag, but it cannot make a decayed post stable, and a new picket cannot replace sound structural work. Separate the visible symptom from the support condition before removing material.
Use fasteners that hold in exterior wood
Hot dip galvanized or stainless fasteners resist corrosion better than basic plated choices. Ring shank nails or exterior screws also hold better than smooth nails when a fence flexes in wind. Modern pressure-treated lumber can corrode cheap plated fasteners, which creates rust streaks and weak joints. Replace damaged fasteners at the same time as the brace or picket repair, and check nearby rails at their fastener holes for early cracking.
Replace damaged rails and boards selectively
A cracked or sagging horizontal rail can be replaced on its own rather than with the whole section. Match the rail and fasten it securely to the posts, or use a suitable rail bracket when working with steel posts. Replace individual pickets that have lost structural strength, keep the correct height and 1 to 2 inch clearance, and let any new pressure-treated lumber dry before finishing. Retest the gate after nearby work so the new pickets and corrected brace do not create a new scrape point.
A durable repair in Edmond, Oklahoma, and Oklahoma County pairs the right support with the right exposure. A correctly directed brace carries the gate load, a visible soil gap protects picket bottoms, ground-contact lumber handles buried posts, and regular restaining protects exposed faces. Each check addresses a separate failure point, so a homeowner can stop a small problem from turning into widespread rot along the fence line.
